Introducing Designer
Designer is where exams are written. You build a project, put one or more exams inside it, divide each exam into papers, and fill the papers with questions. When the exam is ready you send it to Manager, which is where it gets assigned to people and delivered.
Designer runs in the browser and needs nothing installed.
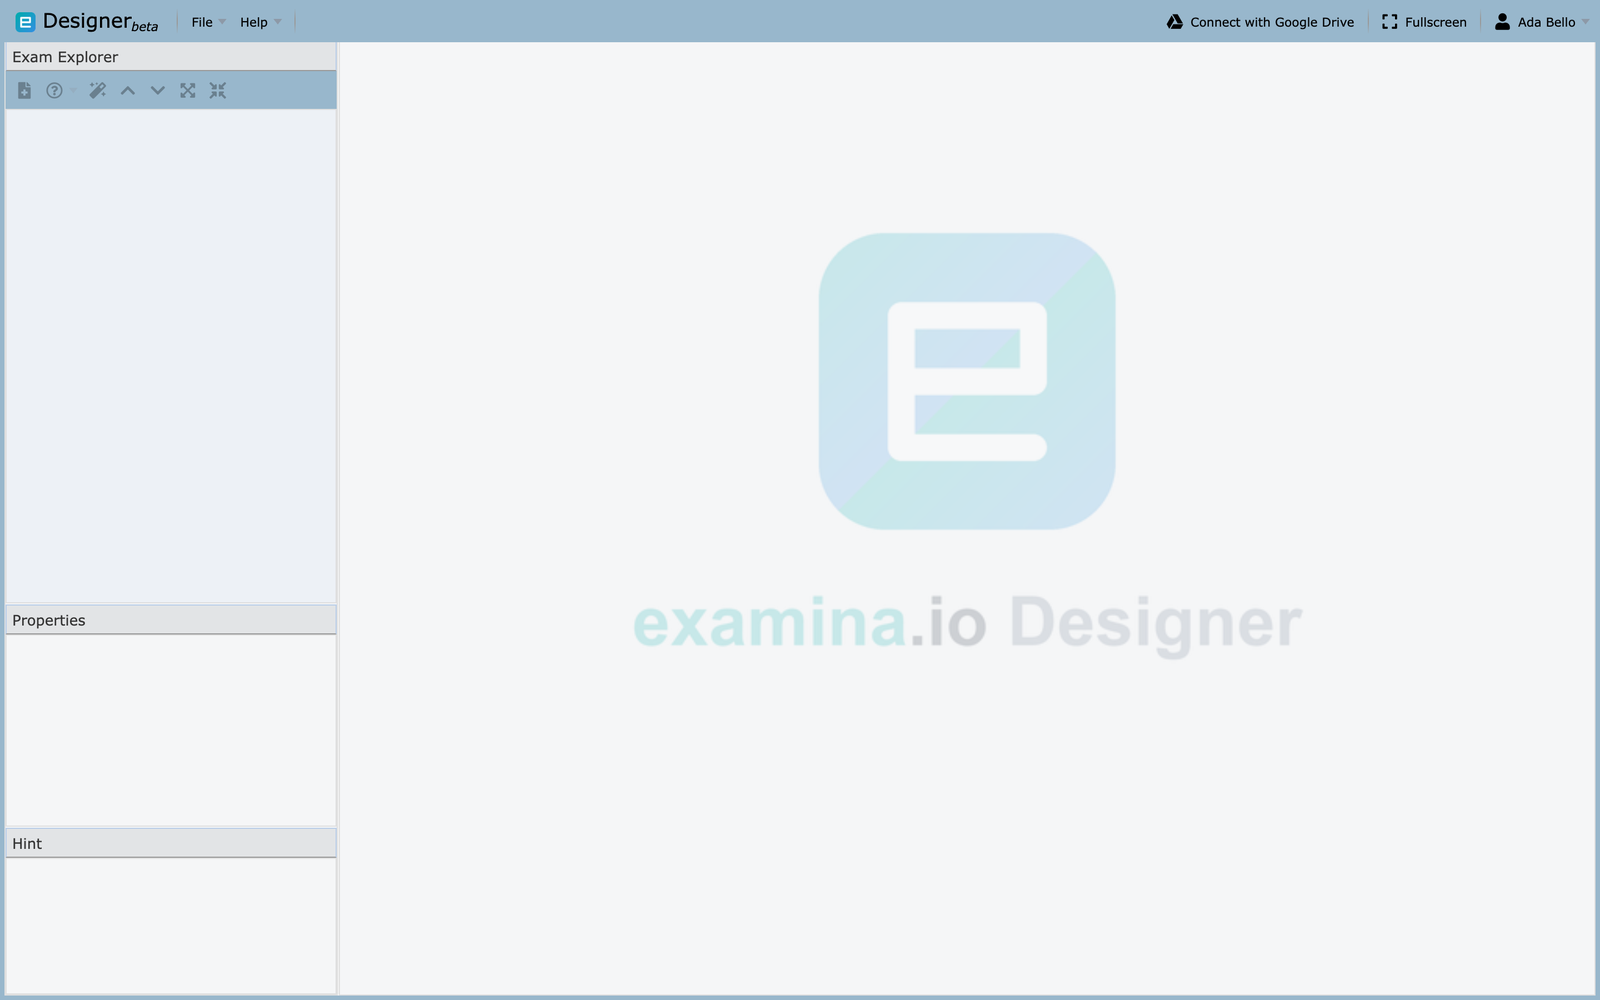
The workspace
Four areas, and they stay in the same place throughout.
| Area | What it holds |
|---|---|
| Exam Explorer (top left) | The project tree: exams, then papers, then questions |
| Properties (lower left) | Settings for whatever is selected in the tree |
| Hint (bottom left) | Plain-English explanation of the selected property |
| Editing pane (right) | The exam, paper, or question you are working on |
The Hint panel is worth knowing about. Select any row in Properties and it explains what that setting does, which is usually faster than looking it up.
Two kinds of file
This distinction causes more confusion than anything else in Designer, so it is worth getting straight before you start.
| File | Extension | What it is |
|---|---|---|
| Project | .smexproj |
Your editable source. Contains every exam, paper and question, and can be reopened and changed |
| Exam | .smex |
A single exam packaged for delivery. This is what Manager consumes |
Keep the project. If you lose it and keep only the exported exam, you lose the ability to edit comfortably.
Create a project
- Choose File → New Exam Project.
- Designer creates an Untitled Exam inside it.
- Select that exam in Exam Explorer to fill in its details.
- Choose File → Save Project and keep the
.smexprojsomewhere safe.
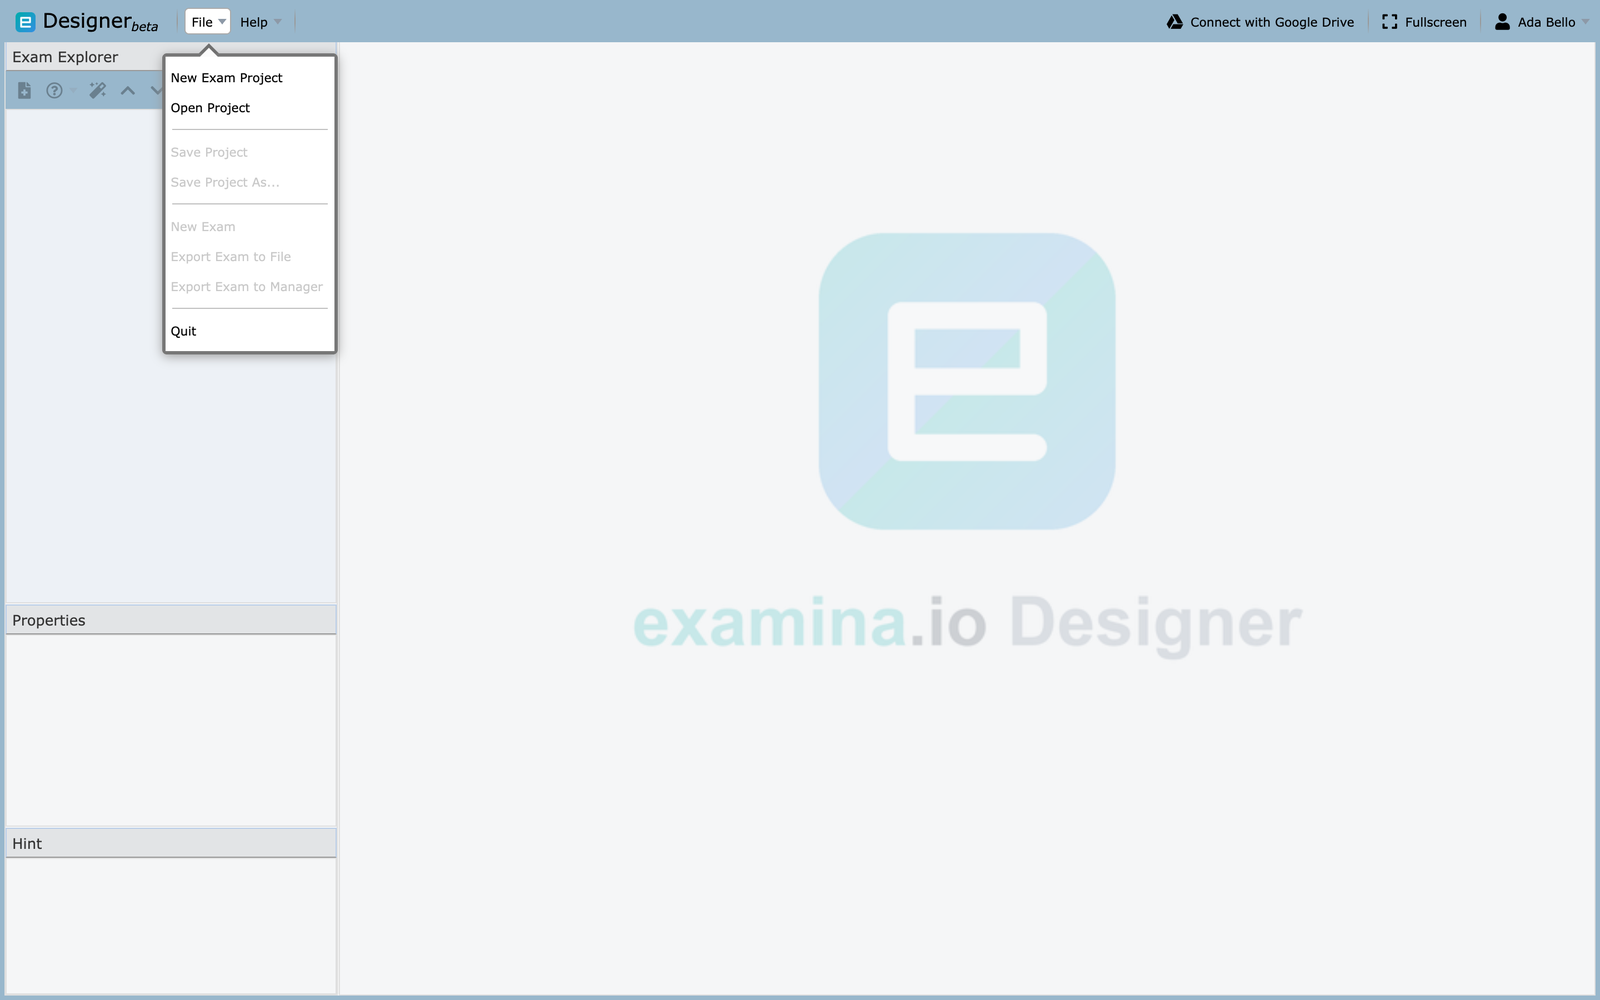
Notice which items are greyed out, and that they wake up in two stages. Save Project, Save Project As... and New Exam become available once a project is open. The two export actions stay disabled until you actually select an exam in Exam Explorer, because Designer exports one exam at a time and needs to know which. A File menu full of grey text is not a fault — it usually means nothing is selected yet.
Open an existing project
File → Open Project, then choose a .smexproj file.
Projects from a newer version will not open
Designer refuses a project saved by a later version of the application than the one you are running, because it cannot be sure it understands everything inside. You will see "The file version is greater than the application version".
Export the exam from the version that created it, or ask whoever sent it to save from a matching version.
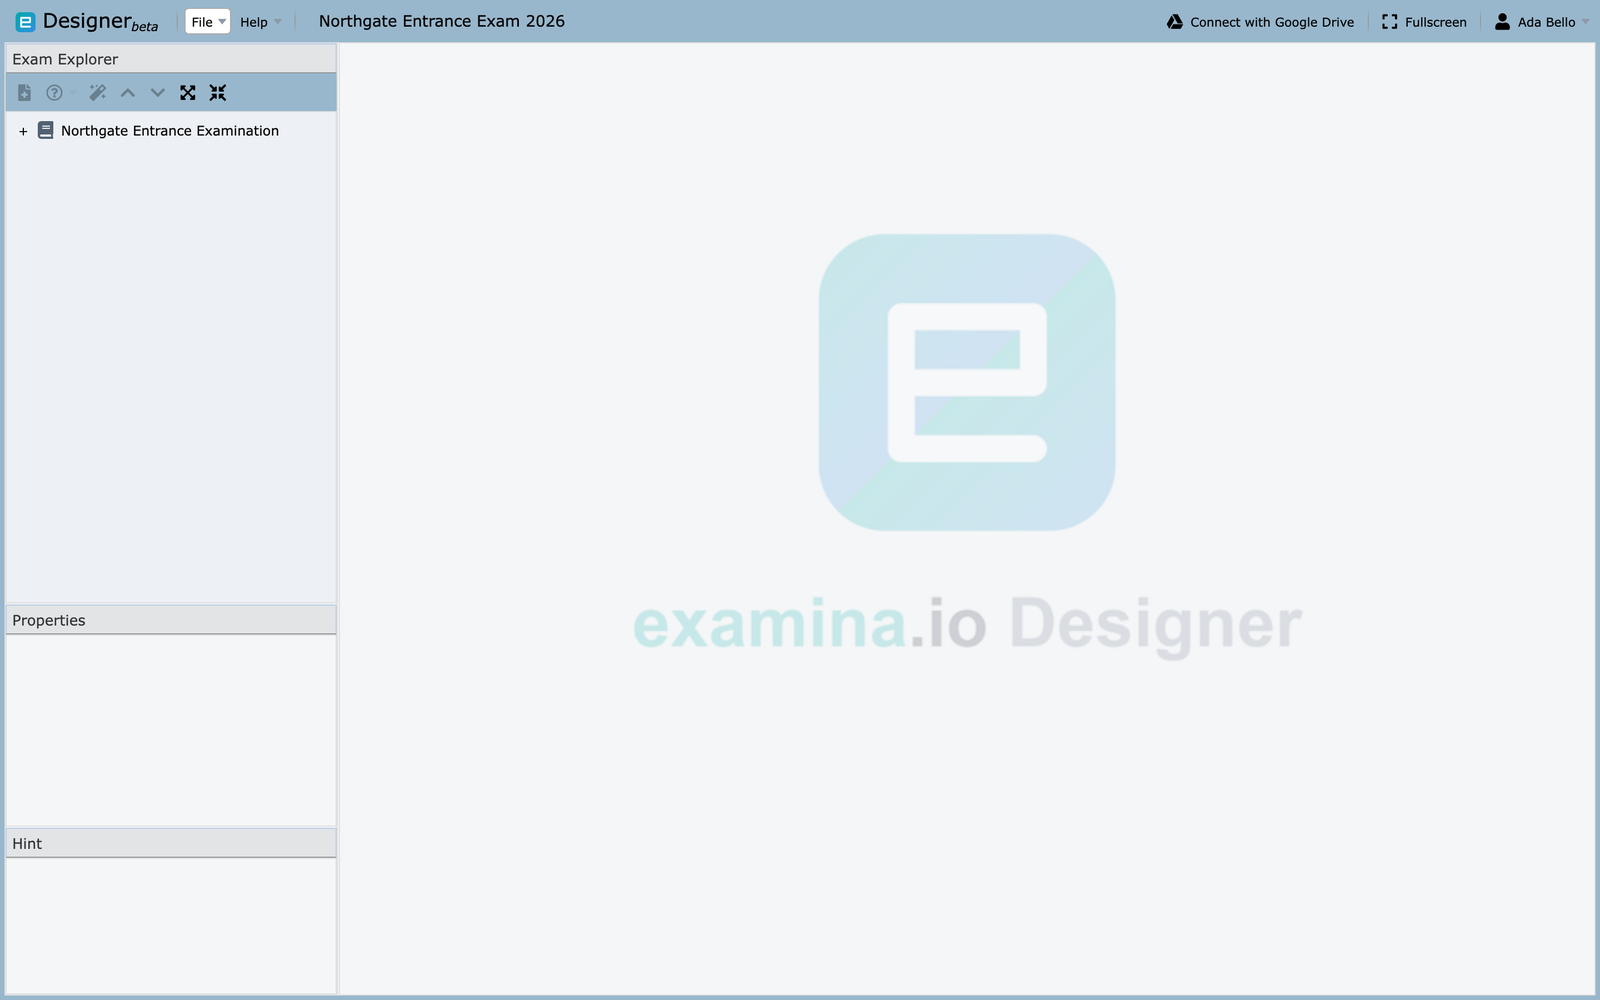
The screenshots in these pages use one sample throughout: a project named Northgate Entrance Exam 2026 holding a single exam, Northgate Entrance Examination, split into six papers.
The shape of an exam
Everything in Designer nests the same way:
Project
└── Exam                     one or more
    └── Paper                one or more
        └── Question         one or more
            └── Section      optional grouping within a paper
A paper usually maps to a subject, course or module. An exam with six papers might be a single sitting covering six subjects, with its own duration and question set for each.
Add a paper
Right-click the exam in Exam Explorer and choose New Exam Paper, then select the new paper to set its title, duration and instructions. See The paper for what each setting does.
Add a question
Right-click a paper and choose the new-question action, or use the button below Exam Explorer. Designer supports:
- Multiple Choice, single select
- Multiple Choice, multiple select
- Fill in the Blank
Set the answer, the score and the section, then use Preview to see the question exactly as an examinee will. See Creating questions.
A working order
- Configure the exam — title, code, description, instructions
- Create each paper and set its duration
- Add sections if the paper needs them
- Write the questions, or import them
- Preview and proofread
- Save the project
- Export one exam to Manager
You can also reuse papers and questions from elsewhere in the open project, import existing content from another project or a document, or build drafts from your own sources with AI authoring.