Add and import examinees
An examinee is a candidate who takes an exam through the Client application. Examinees are separate from staff Users.
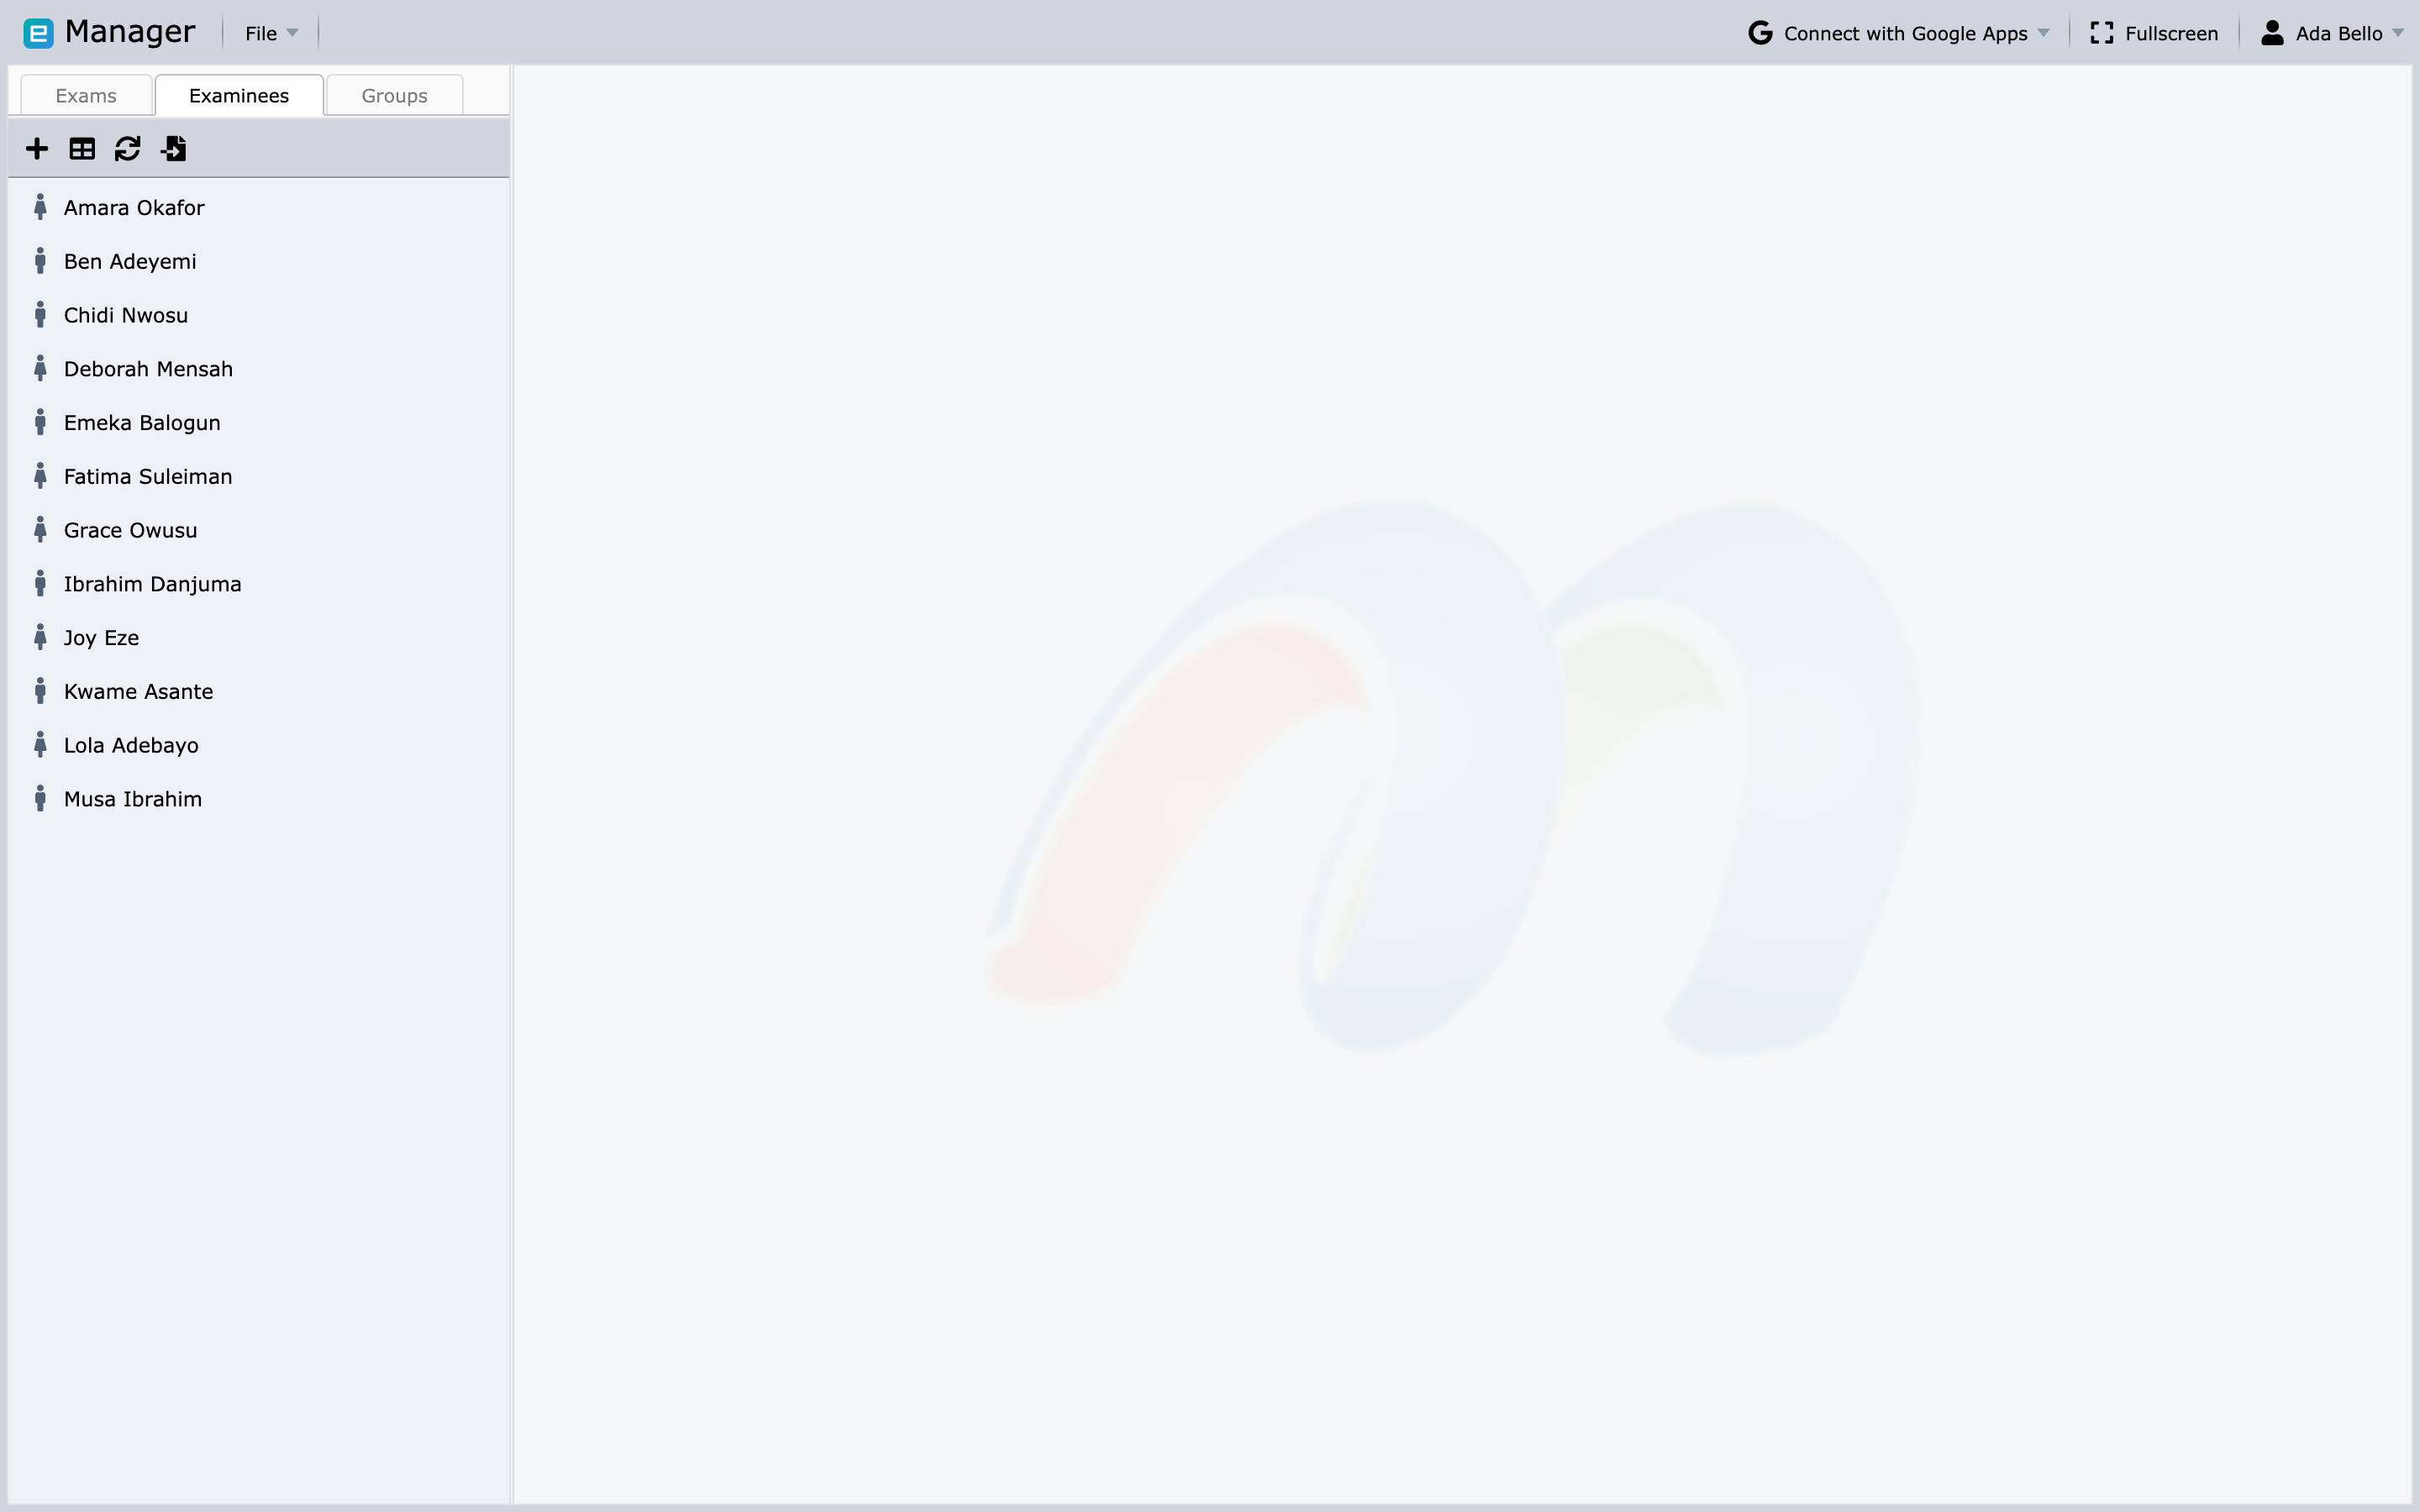
Add one examinee
- Open Manager.
- Select File → Add New Examinee.
- Enter the examinee's name and gender.
- Enter a unique examinee code or choose automatic code assignment.
- Enter a passcode or choose passcode generation.
- Add optional details such as email address, phone number, date of birth, title, or photograph.
- Save the record.
The code identifies the examinee during login and must be unique. A square photo around 256 × 256 pixels works best when your workflow uses examinee images or identity verification.
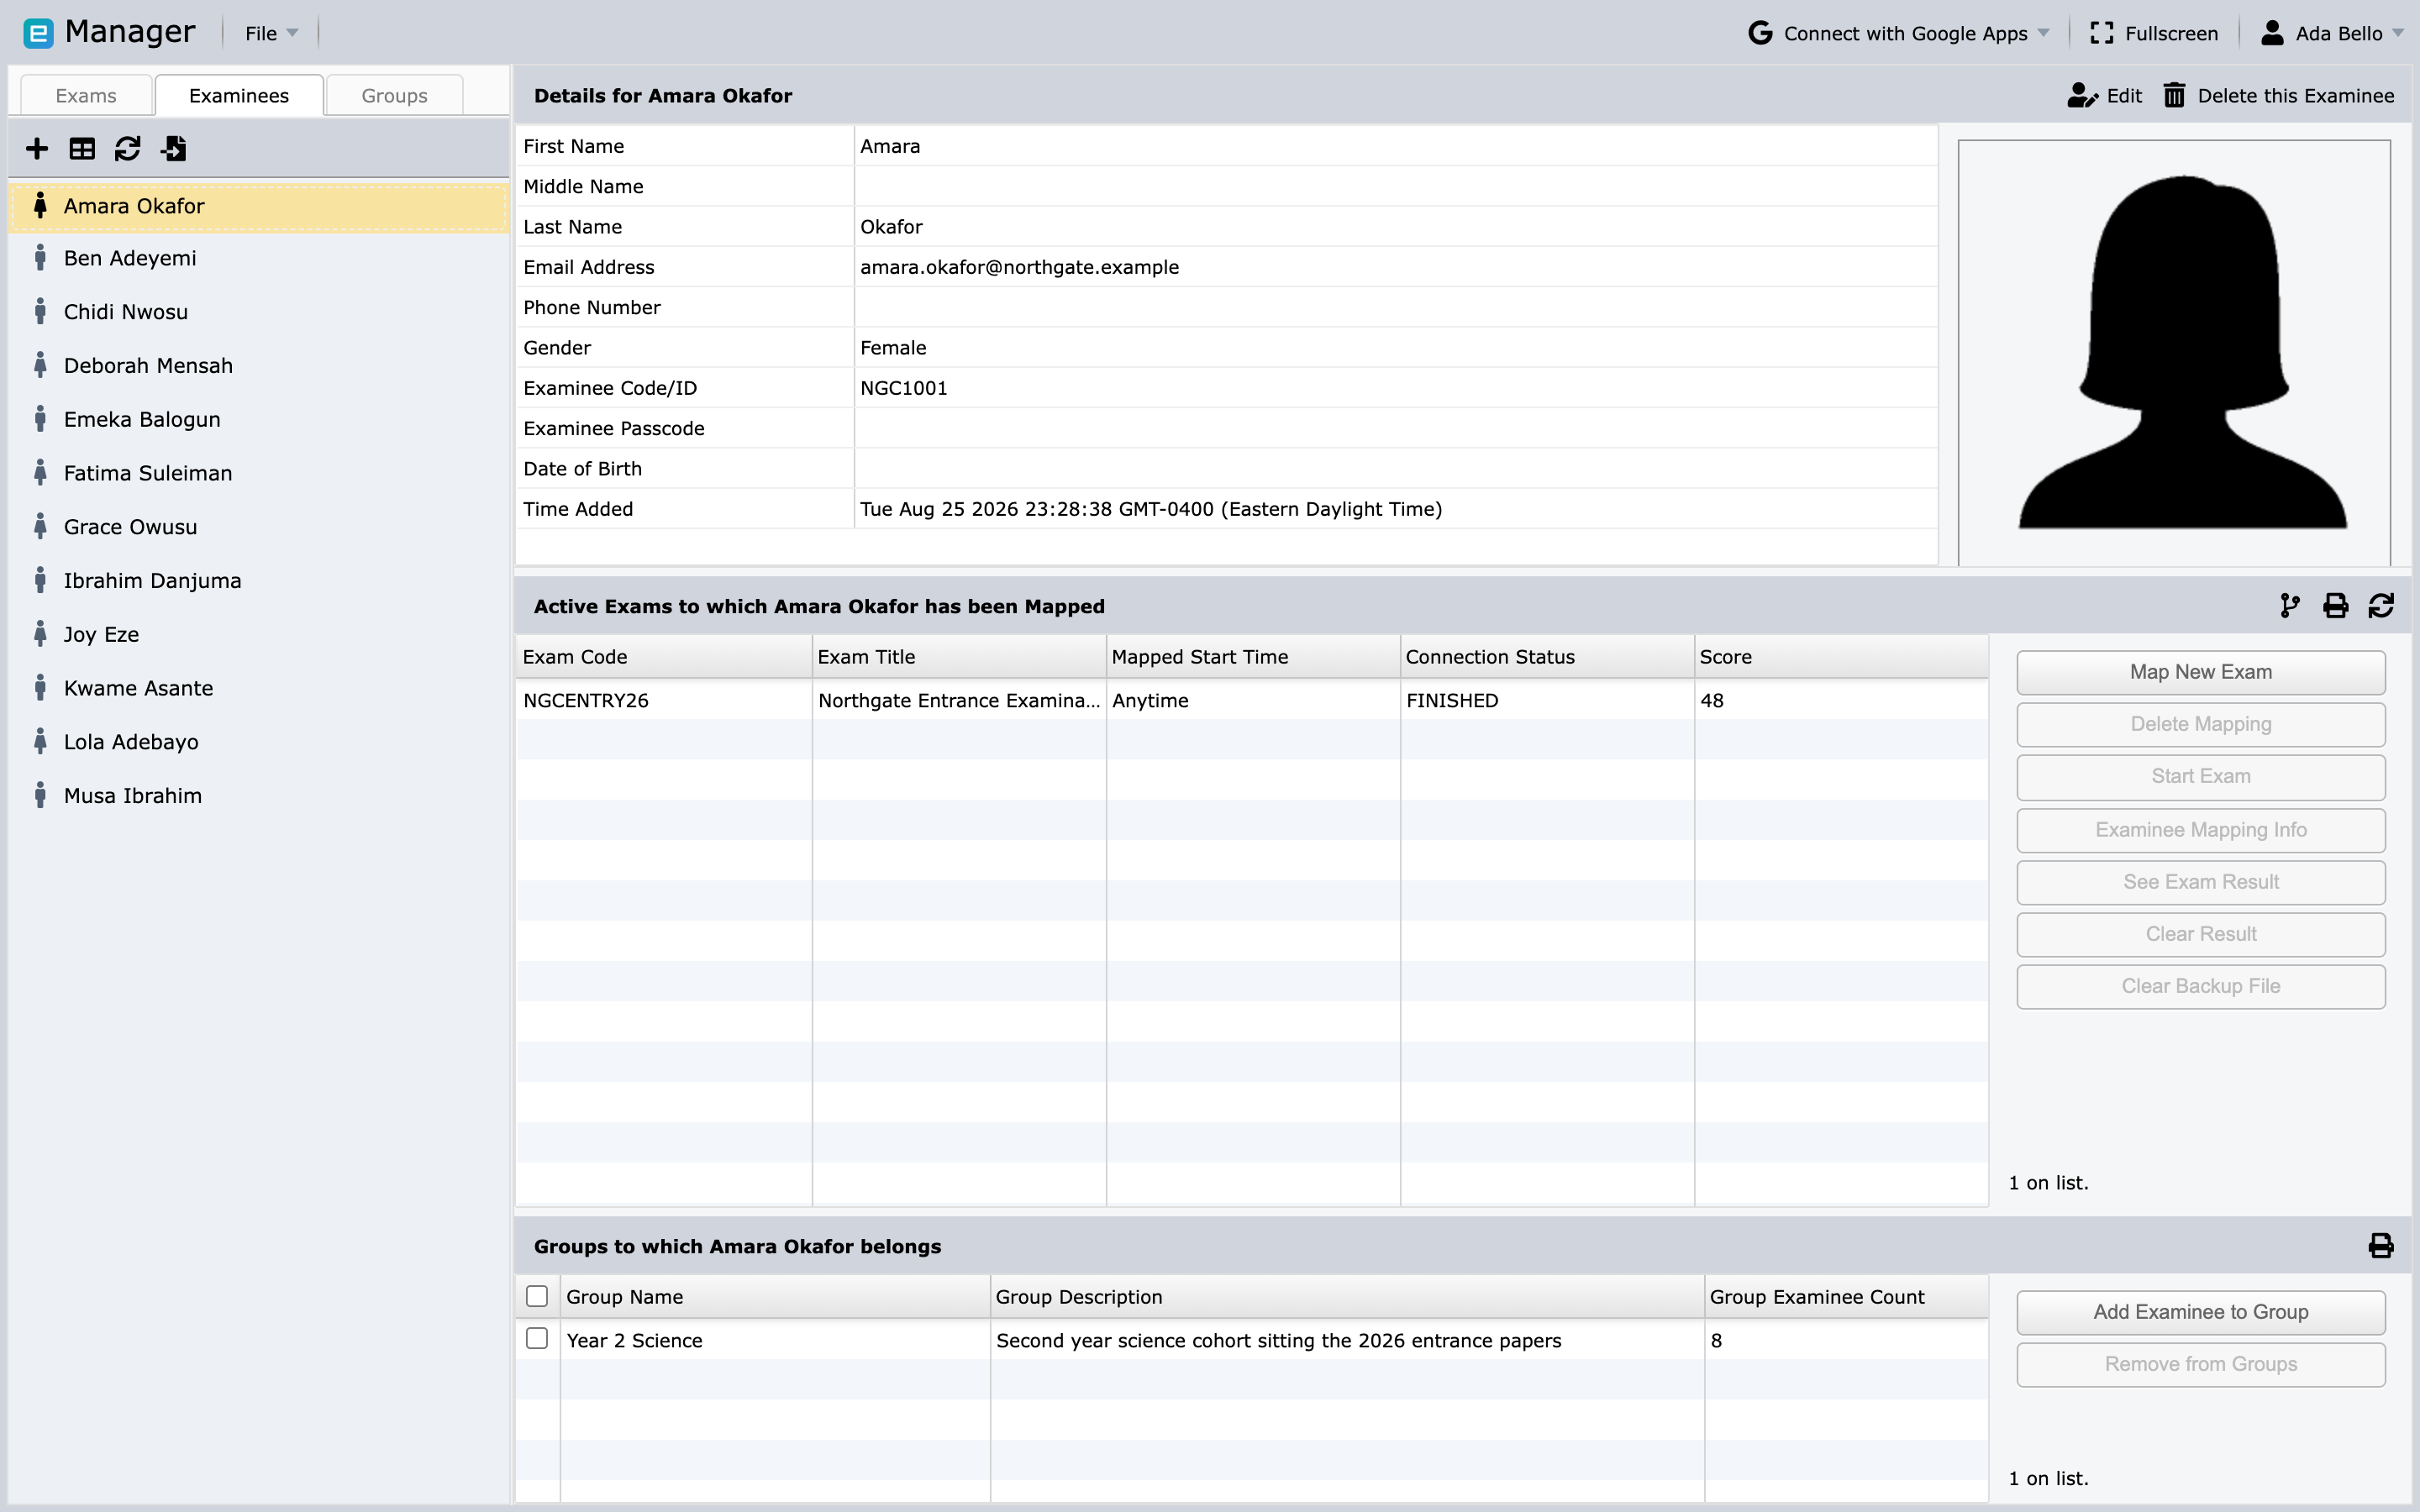
Prepare an import file
Manager supports:
- Excel workbooks:
.xlsand.xlsx - delimited text:
.csvand.txt
Put one examinee on each row. Required fields are:
- first name;
- last name; and
- gender.
Codes and passcodes can be generated when they are omitted. If you include
phone numbers, use international format such as +14165550100. If you include
dates of birth, use the format shown by the importer, such as 8/7/1900.
For a reliable import, use a header row with clear column names and save a copy of the original source file.
Example CSV:
student_id,first_name,last_name,gender,email
STU-1001,Avery,Okafor,F,avery@example.edu
STU-1002,Noah,Martin,M,noah@example.edu
Import a file
- Select File → Import Examinees from File/Excel.
- Choose the file.
- For a text file, choose or auto-detect the separator, such as comma, tab, pipe, semicolon, or colon.
- Review the data preview.
- Choose whether the second preview line should be shown and whether the first row is a header to skip.
- Map each source column to the appropriate examinee field.
- Optionally choose a Group for the imported records.
- Choose whether the process should stop at the first error.
- Start the import and review every added, skipped, or failed row.
If Update Existing Examinees if Examinee Code/ID matches is available and selected, matching codes can update existing records. Use that option only when the source file is trusted and the code mapping has been checked.
Validate the result
After the import:
- compare the added count with the source file;
- search for several examinee codes;
- verify names, email addresses, and gender mappings;
- check any automatically generated codes or passcodes;
- confirm optional Group membership; and
- export or record the import log according to your operating procedure.
Rows missing required fields are skipped or cause termination according to the chosen error setting.
Protect examinee data
- Import only the data needed to administer the assessment.
- Do not place passcodes in a broadly shared spreadsheet.
- Use an approved secure channel to distribute credentials.
- Remove stale test records and local copies according to your retention policy.
- Confirm your organization has a lawful basis for any photo, biometric, or proctoring data it collects.
Next step
Create Groups or assign examinees directly by following Groups and exam assignments.