Quick start: publish your first exam
This checklist takes an organization administrator from a new account to a
testable exam link. If another person authors the questions, they can complete
the Designer steps and send you the exported .smex file.
1. Confirm staff access
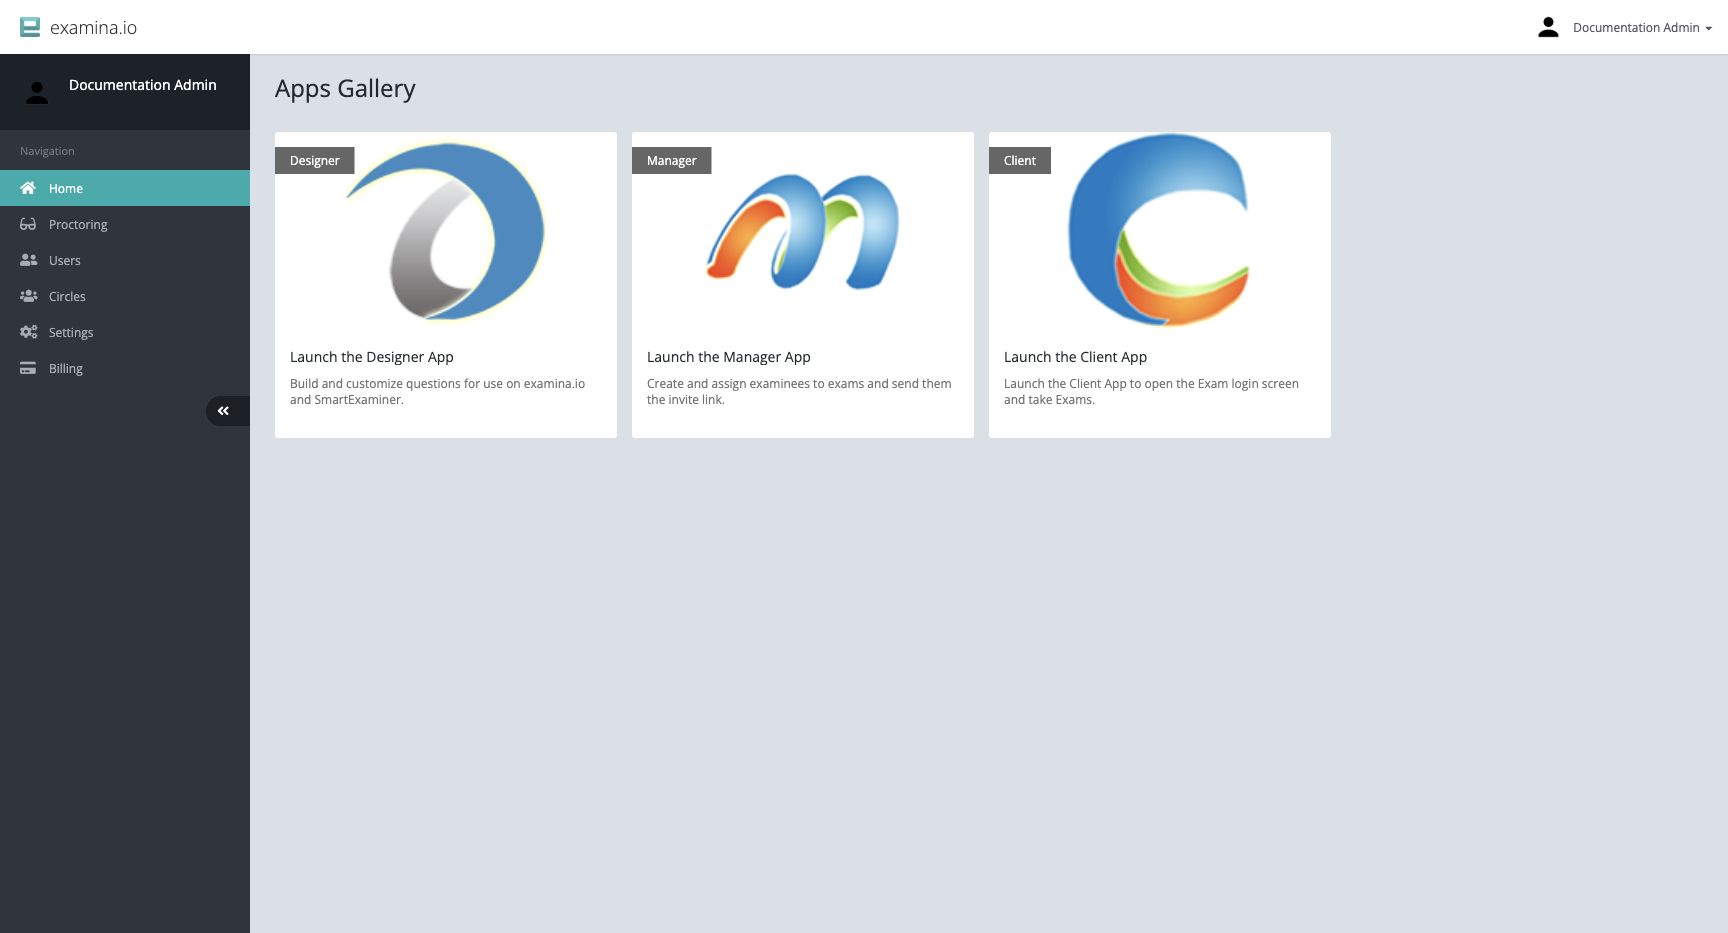
From Home, verify that the people preparing the assessment have the right account roles. Use Users to add staff accounts and Circles if access must be limited to particular exams or examinees.
2. Create the exam content
Open Designer, then:
- Select File → New Exam Project.
- Create an exam and at least one paper.
- Add sections and questions.
- Set the exam and paper instructions, timing, scoring, and navigation rules.
- Preview the content.
- Export the finished exam as a
.smexfile.
For detailed authoring instructions, see Introducing Designer.
3. Import the exam into Manager
Open Manager and choose File → Add New Exam. Select the exported
.smex file and wait for the success message. Review the imported title,
code, papers, and delivery properties before assigning anyone.
See Import exams.
4. Add examinees
Choose one of these approaches:
- File → Add New Examinee for one or a few people.
- File → Import Examinees from File/Excel for a class or cohort.
An examinee is a candidate taking an exam, not a staff user. Keep their code or ID unique. If you import a file, verify the field mapping and preview before starting the import.
5. Create Groups when useful
Groups are optional, but they reduce repetitive work. Create a Group for a class, cohort, department, or sitting, then add the appropriate examinees.
You can assign an entire Group to an exam while still selecting the papers and optional start time for that assignment.
6. Assign the exam and papers
Select an exam and choose Map Examinees or Map Groups. Move the intended people or Groups to the selected list, continue to paper mapping, and choose the papers they may take.
If you set an exam time, also select the correct time zone. The mapped time is the earliest time the exam becomes available for that assignment.
7. Configure delivery
Before sharing the link, review:
- exam visibility;
- whether results appear after completion;
- live proctoring and identity-verification requirements;
- allowed mobile or tablet access;
- internet-disconnection behavior; and
- any proctoring exemptions.
Keep the exam invisible while preparing it. Make it visible only when the exam and assignments are ready.
8. Test the examinee journey
Open the exam link in a private browser window. Confirm that:
- the organization logo and login style are correct;
- the test examinee can sign in;
- the expected papers are available;
- instructions and timing are correct; and
- any device, camera, microphone, or identity checks behave as expected.
Use a fictional or designated test examinee rather than a real candidate.
9. Publish and communicate
Make the exam visible, then copy Open Exam Link or use Send Email to Examinees from Manager. Include:
- the exam date, start time, and time zone;
- the exam link;
- the examinee code and passcode distribution method;
- device and browser requirements;
- proctoring requirements; and
- a support contact.
Share the examinee test-day guide with participants.
10. Monitor and report
During the session, refresh Manager to see current connection states. If live proctoring is enabled, open the exam under Proctoring. After examinees finish, review individual results or generate an exam report.
The delivery, monitoring, and reporting guide contains the detailed operating checklist.
Run a rehearsal
For a high-stakes assessment, conduct a short rehearsal with the same device rules, network conditions, and proctoring settings planned for the real exam.